!!! note
 If you added a data source, a page similar to the following appears
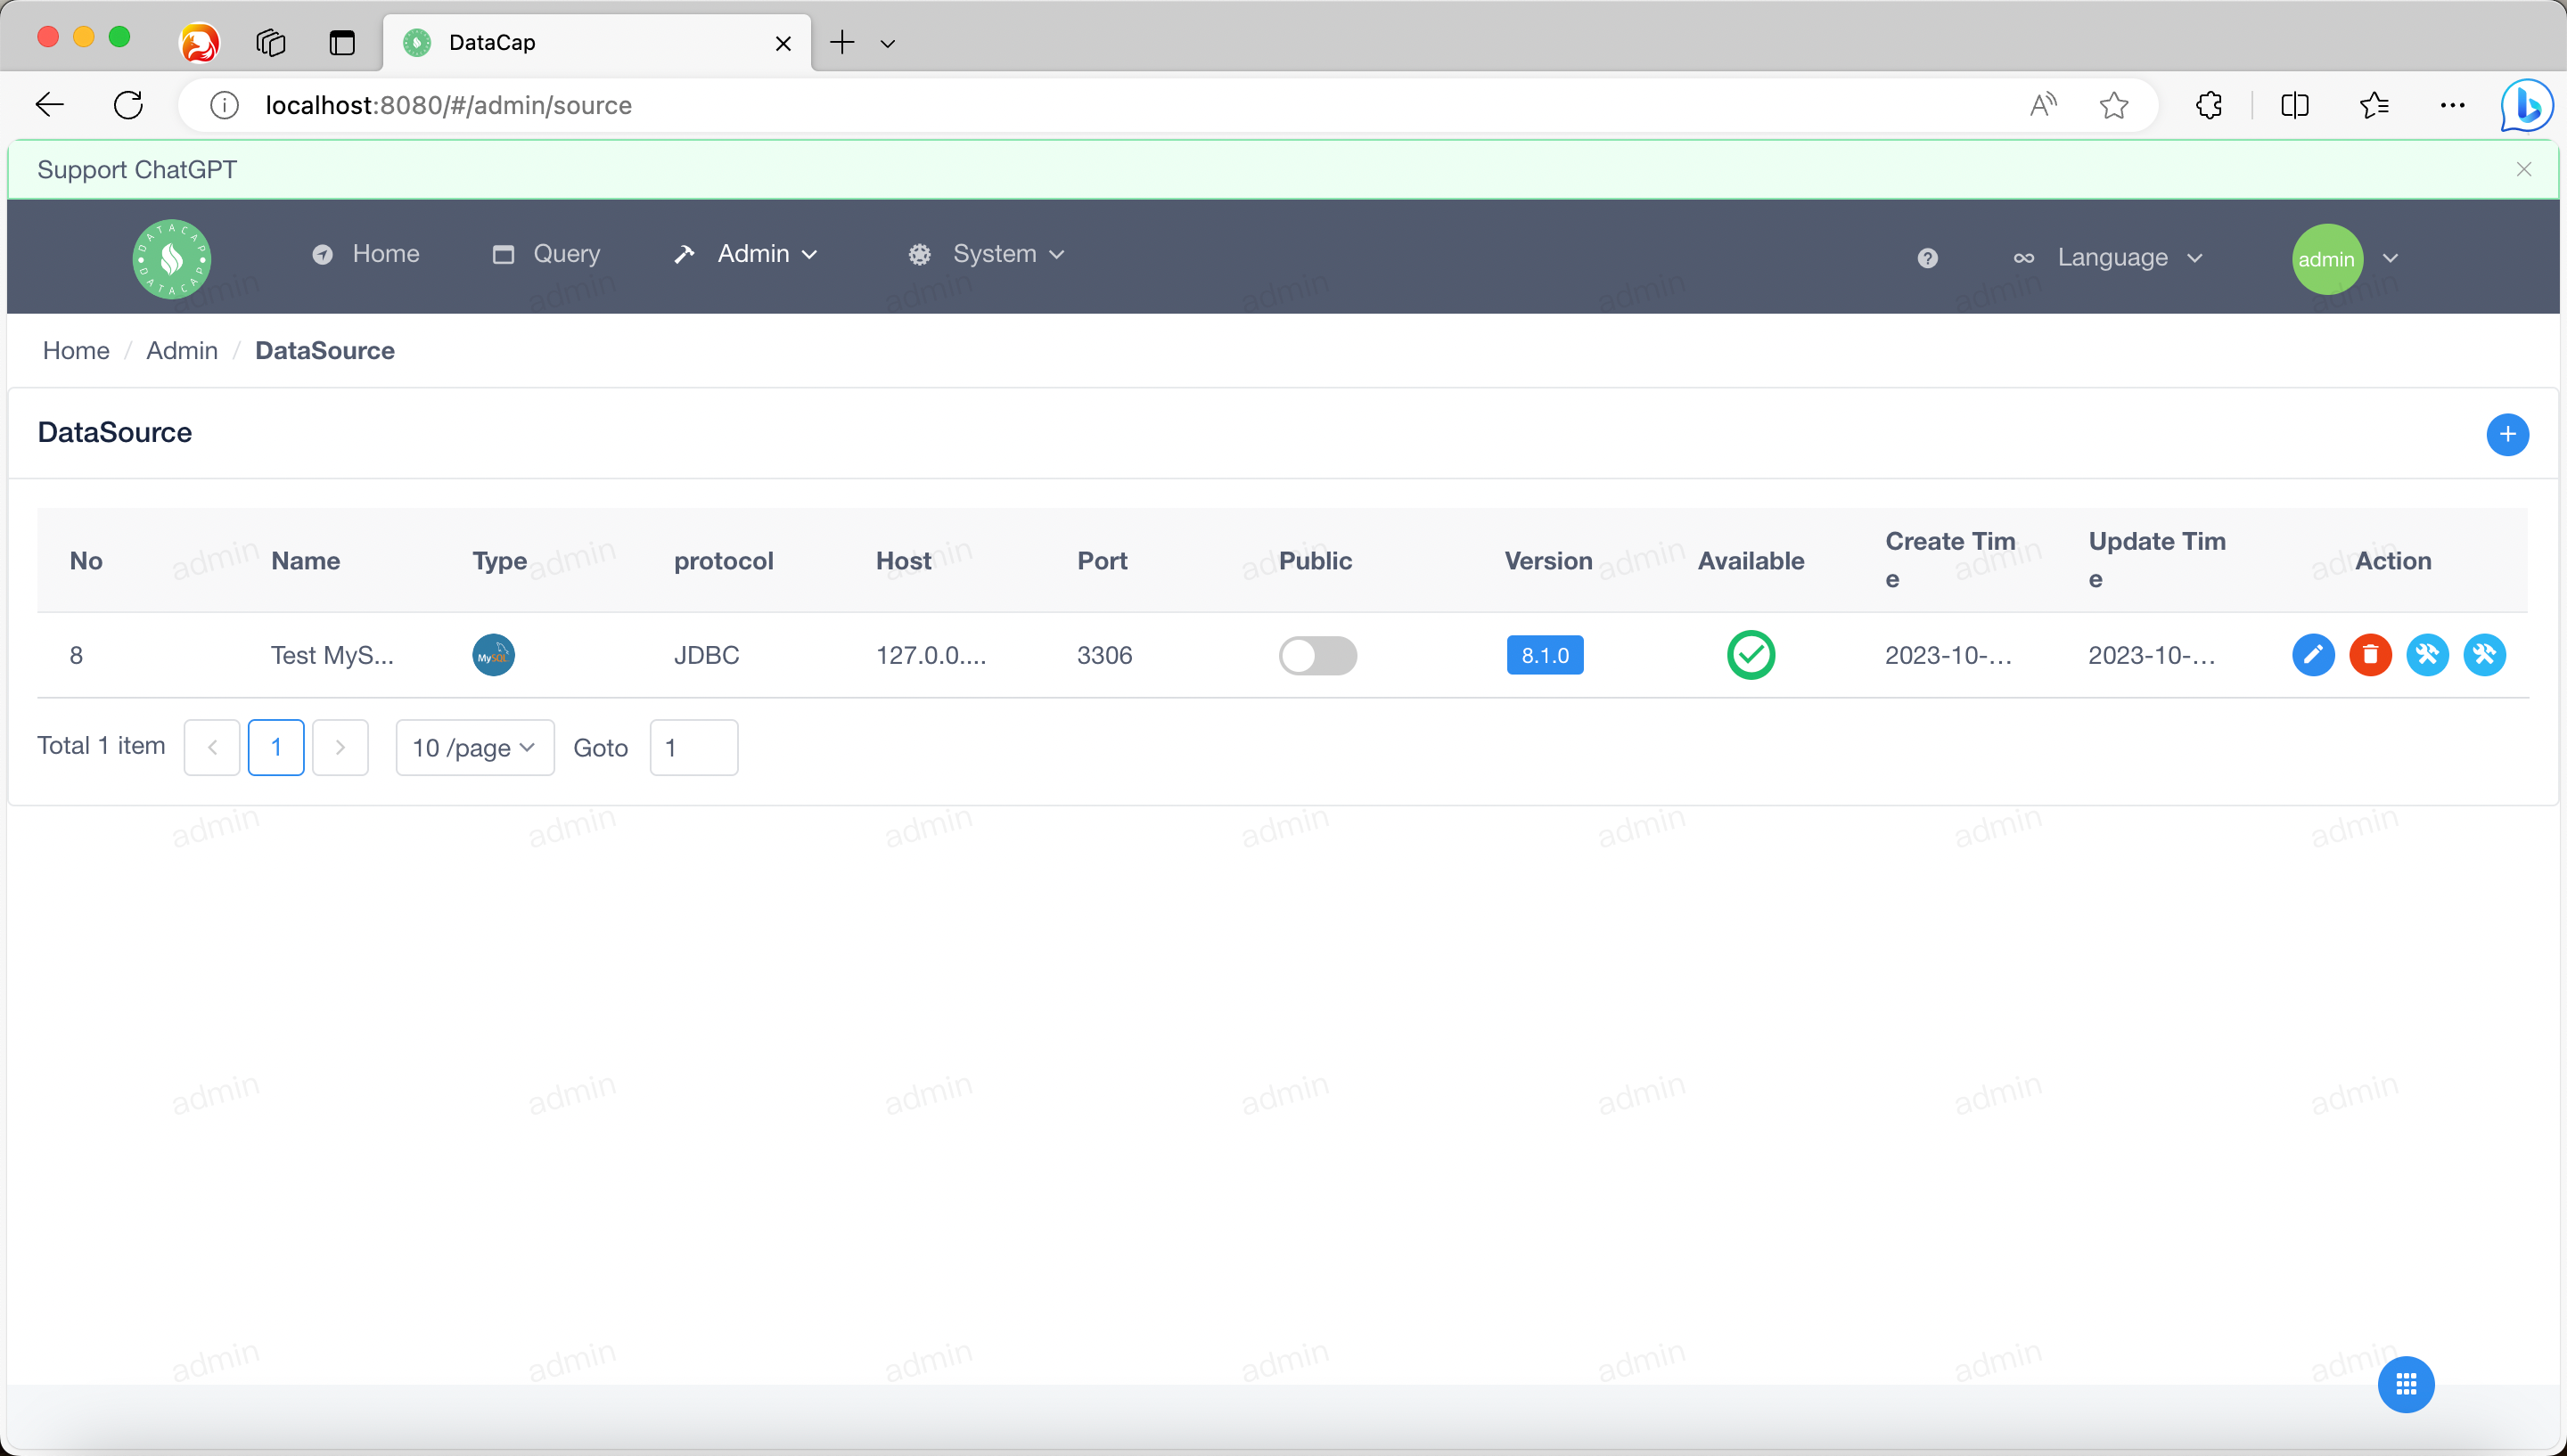
Click the Add button on the right side of the list display area (it is a
 When we select a certain type of data source, the data source configuration information will be displayed in the top tab bar, different data sources have different configuration items, and its configuration order is in the specified directory of service startup.
When we select the source of type
When we select a certain type of data source, the data source configuration information will be displayed in the top tab bar, different data sources have different configuration items, and its configuration order is in the specified directory of service startup.
When we select the source of type
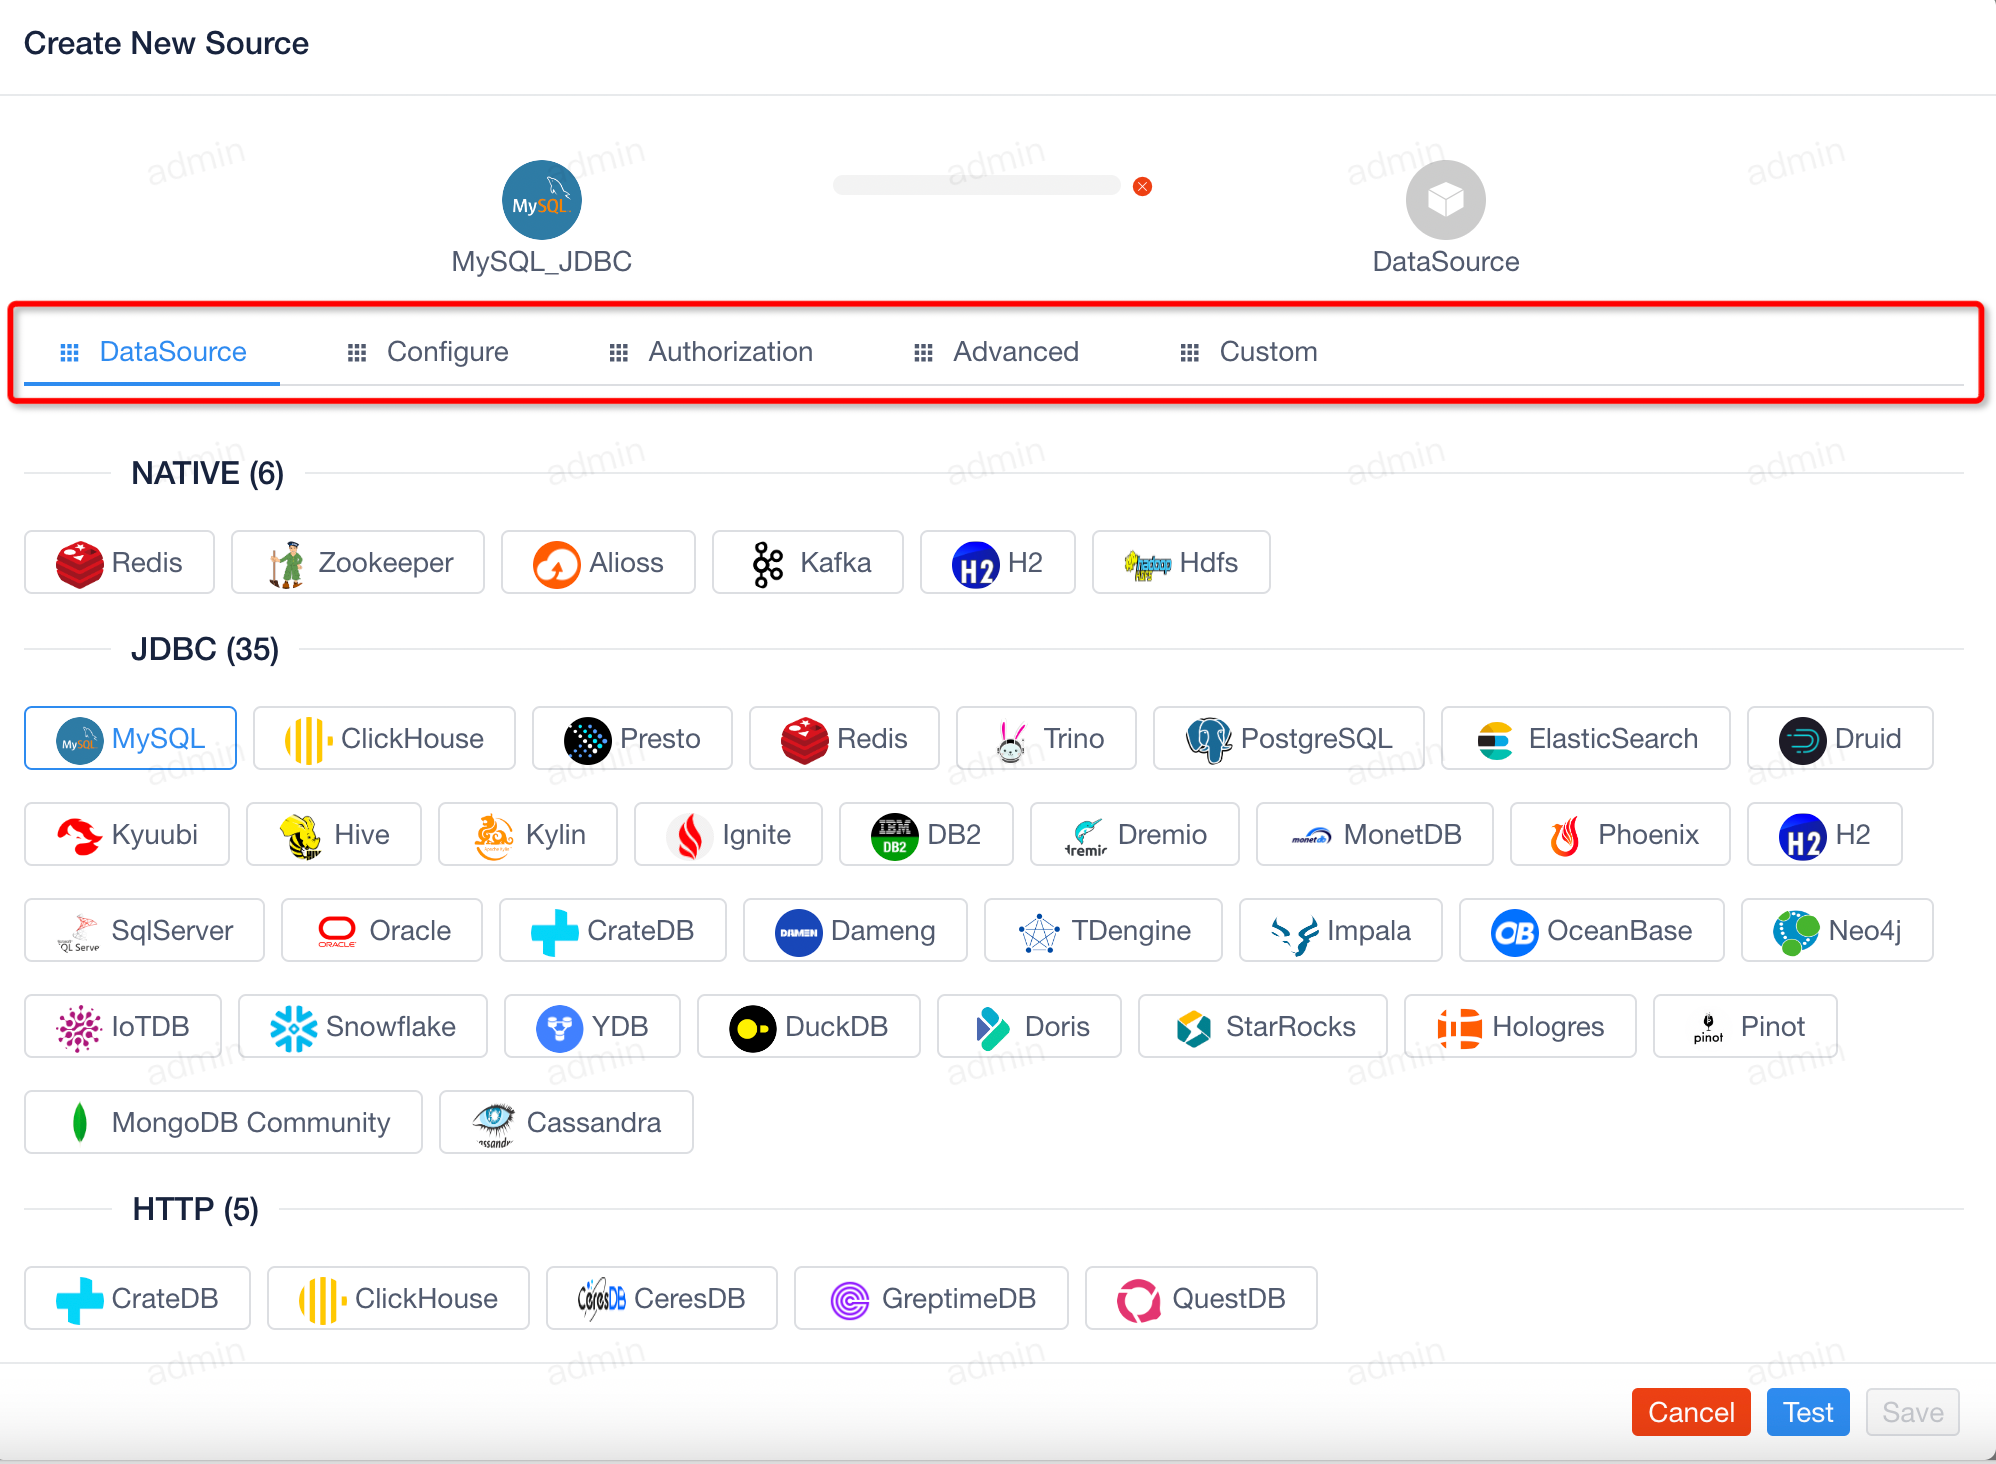 4 tabs appear in the configuration page, click on the different tabs to fill in the relevant information, and then click the
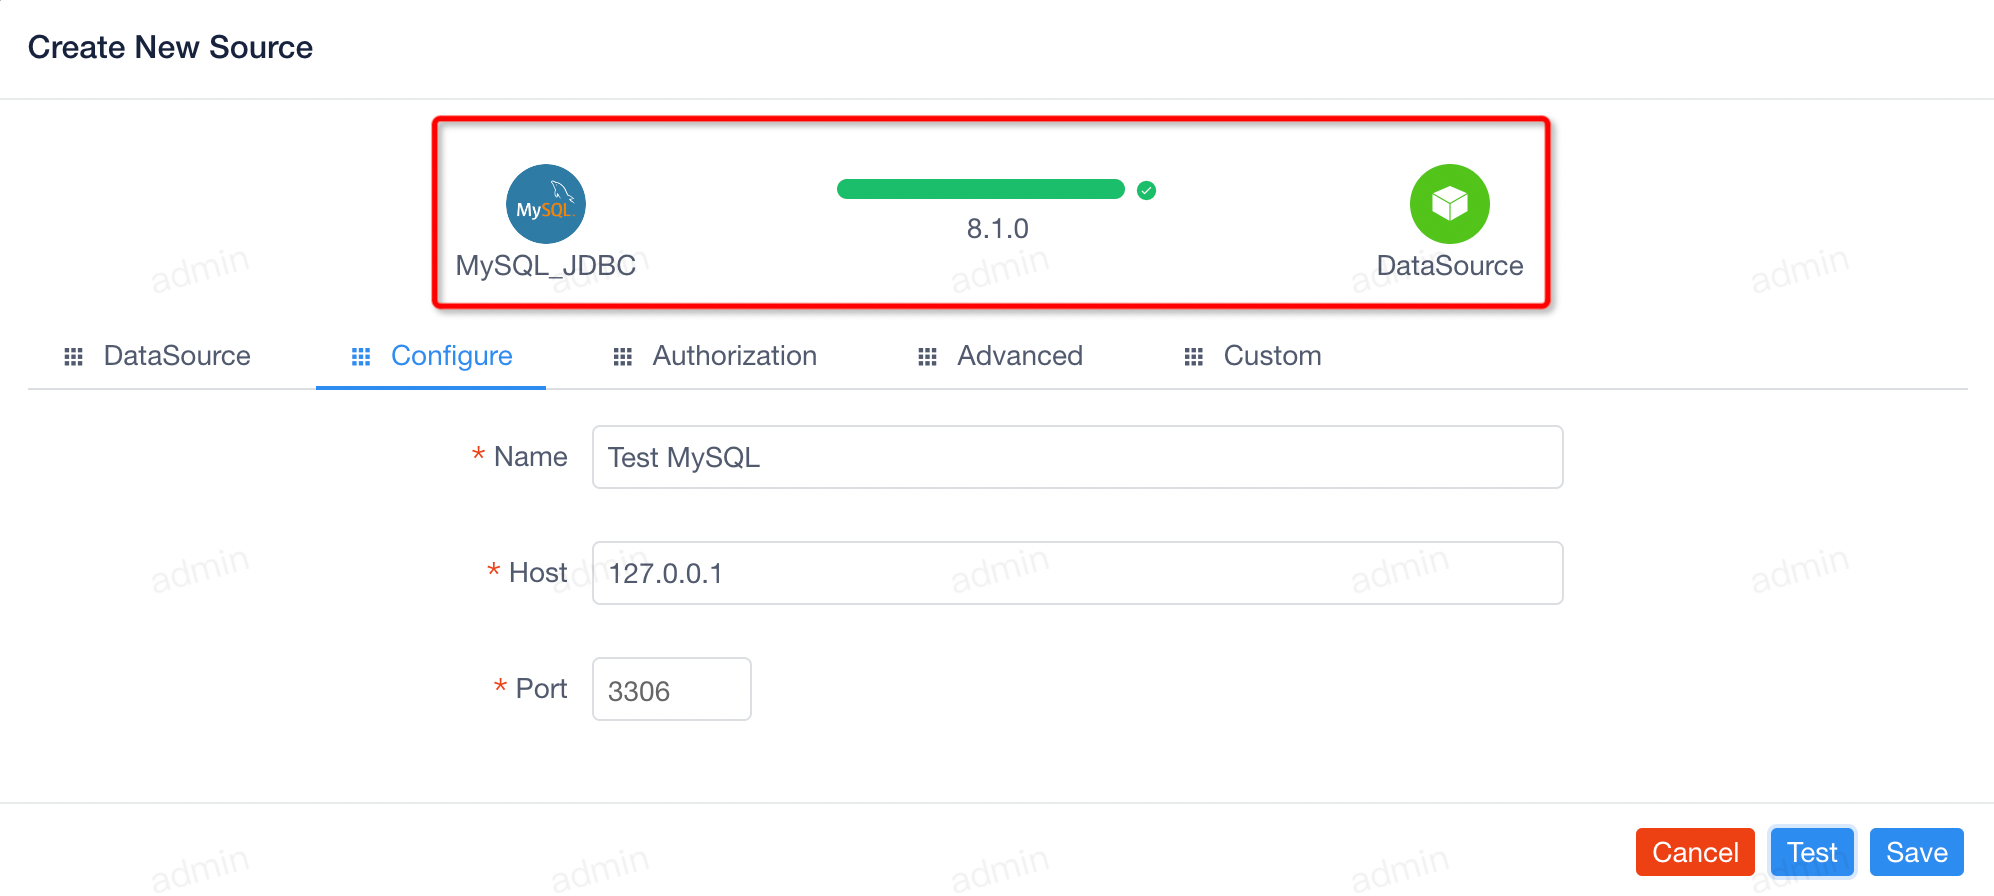 When the data source is successfully tested, the version number of the current service will be displayed at the top, and you can save the data by clicking the
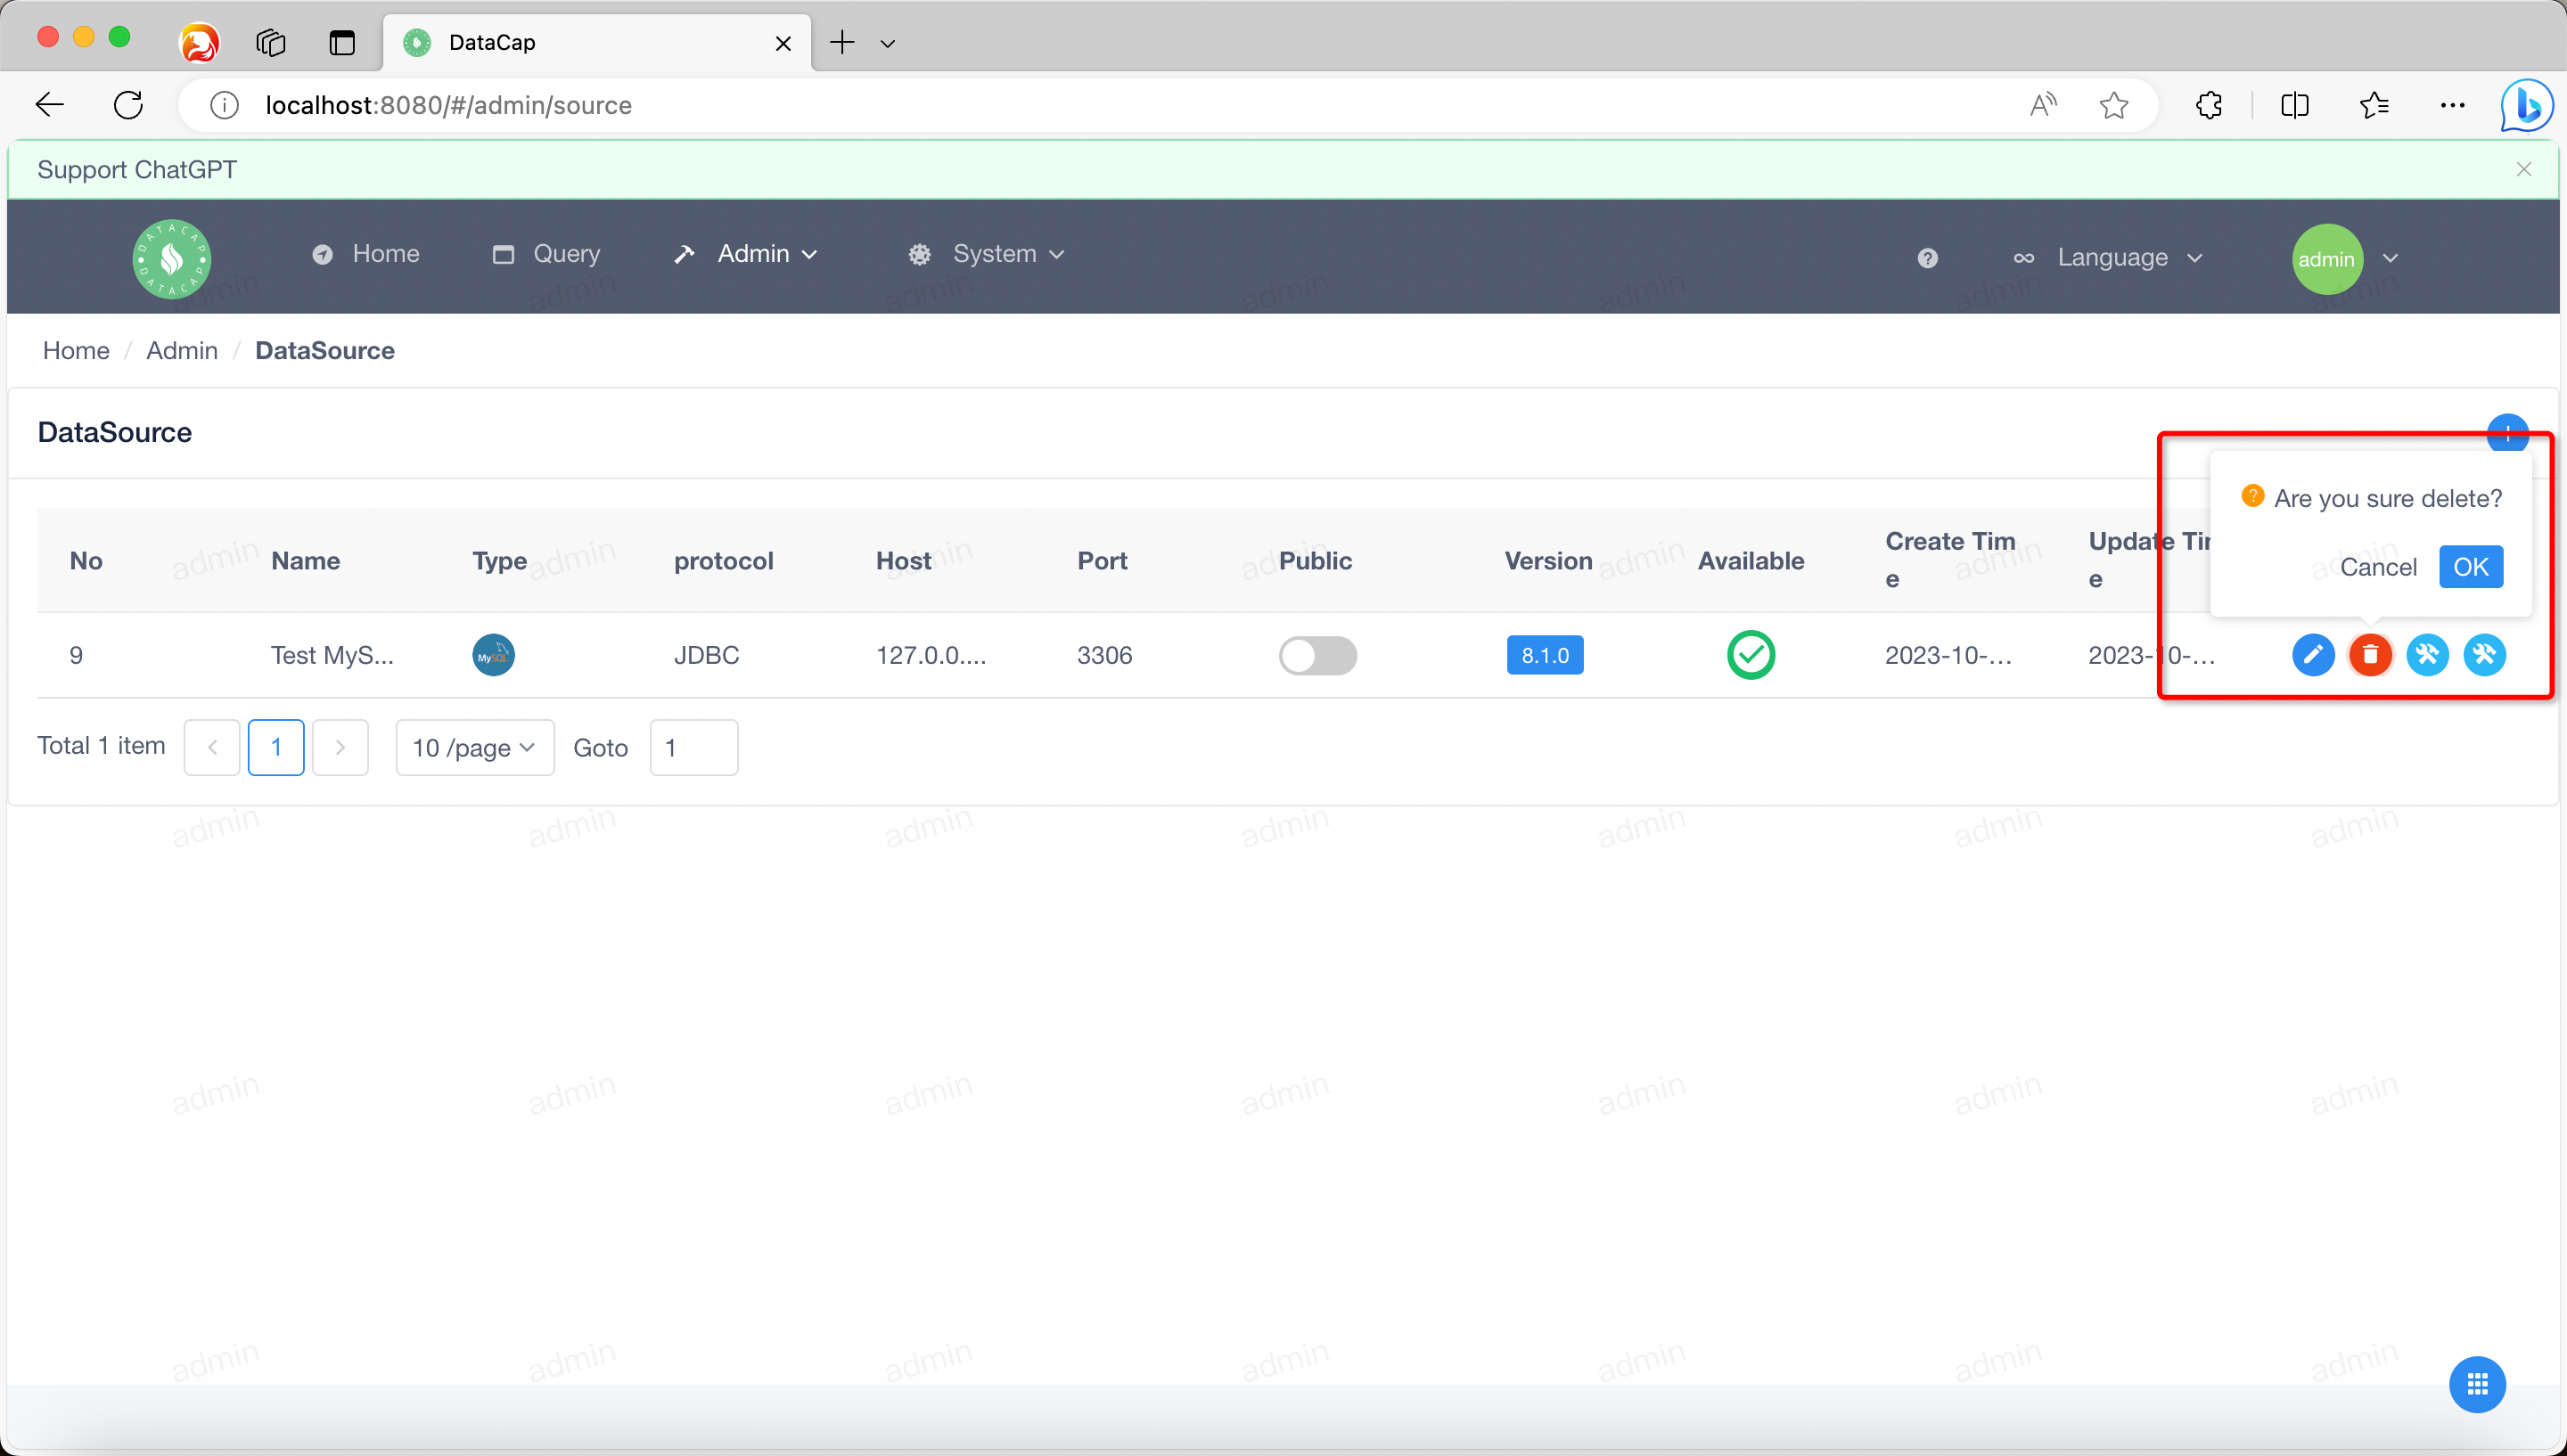
Click the first button in
Click the second button in
 Click the small pop-up window and click
Click the third or fourth button in the
 The page is divided into two parts: left and right. The left side mainly displays the basic information of the data source, including:
 Two tabs appear in the right content:
 The four buttons at the top are:
 !!! note
Through the data source feature, you can add support for various custom data sources, perform subsequent data source operations, and so on.
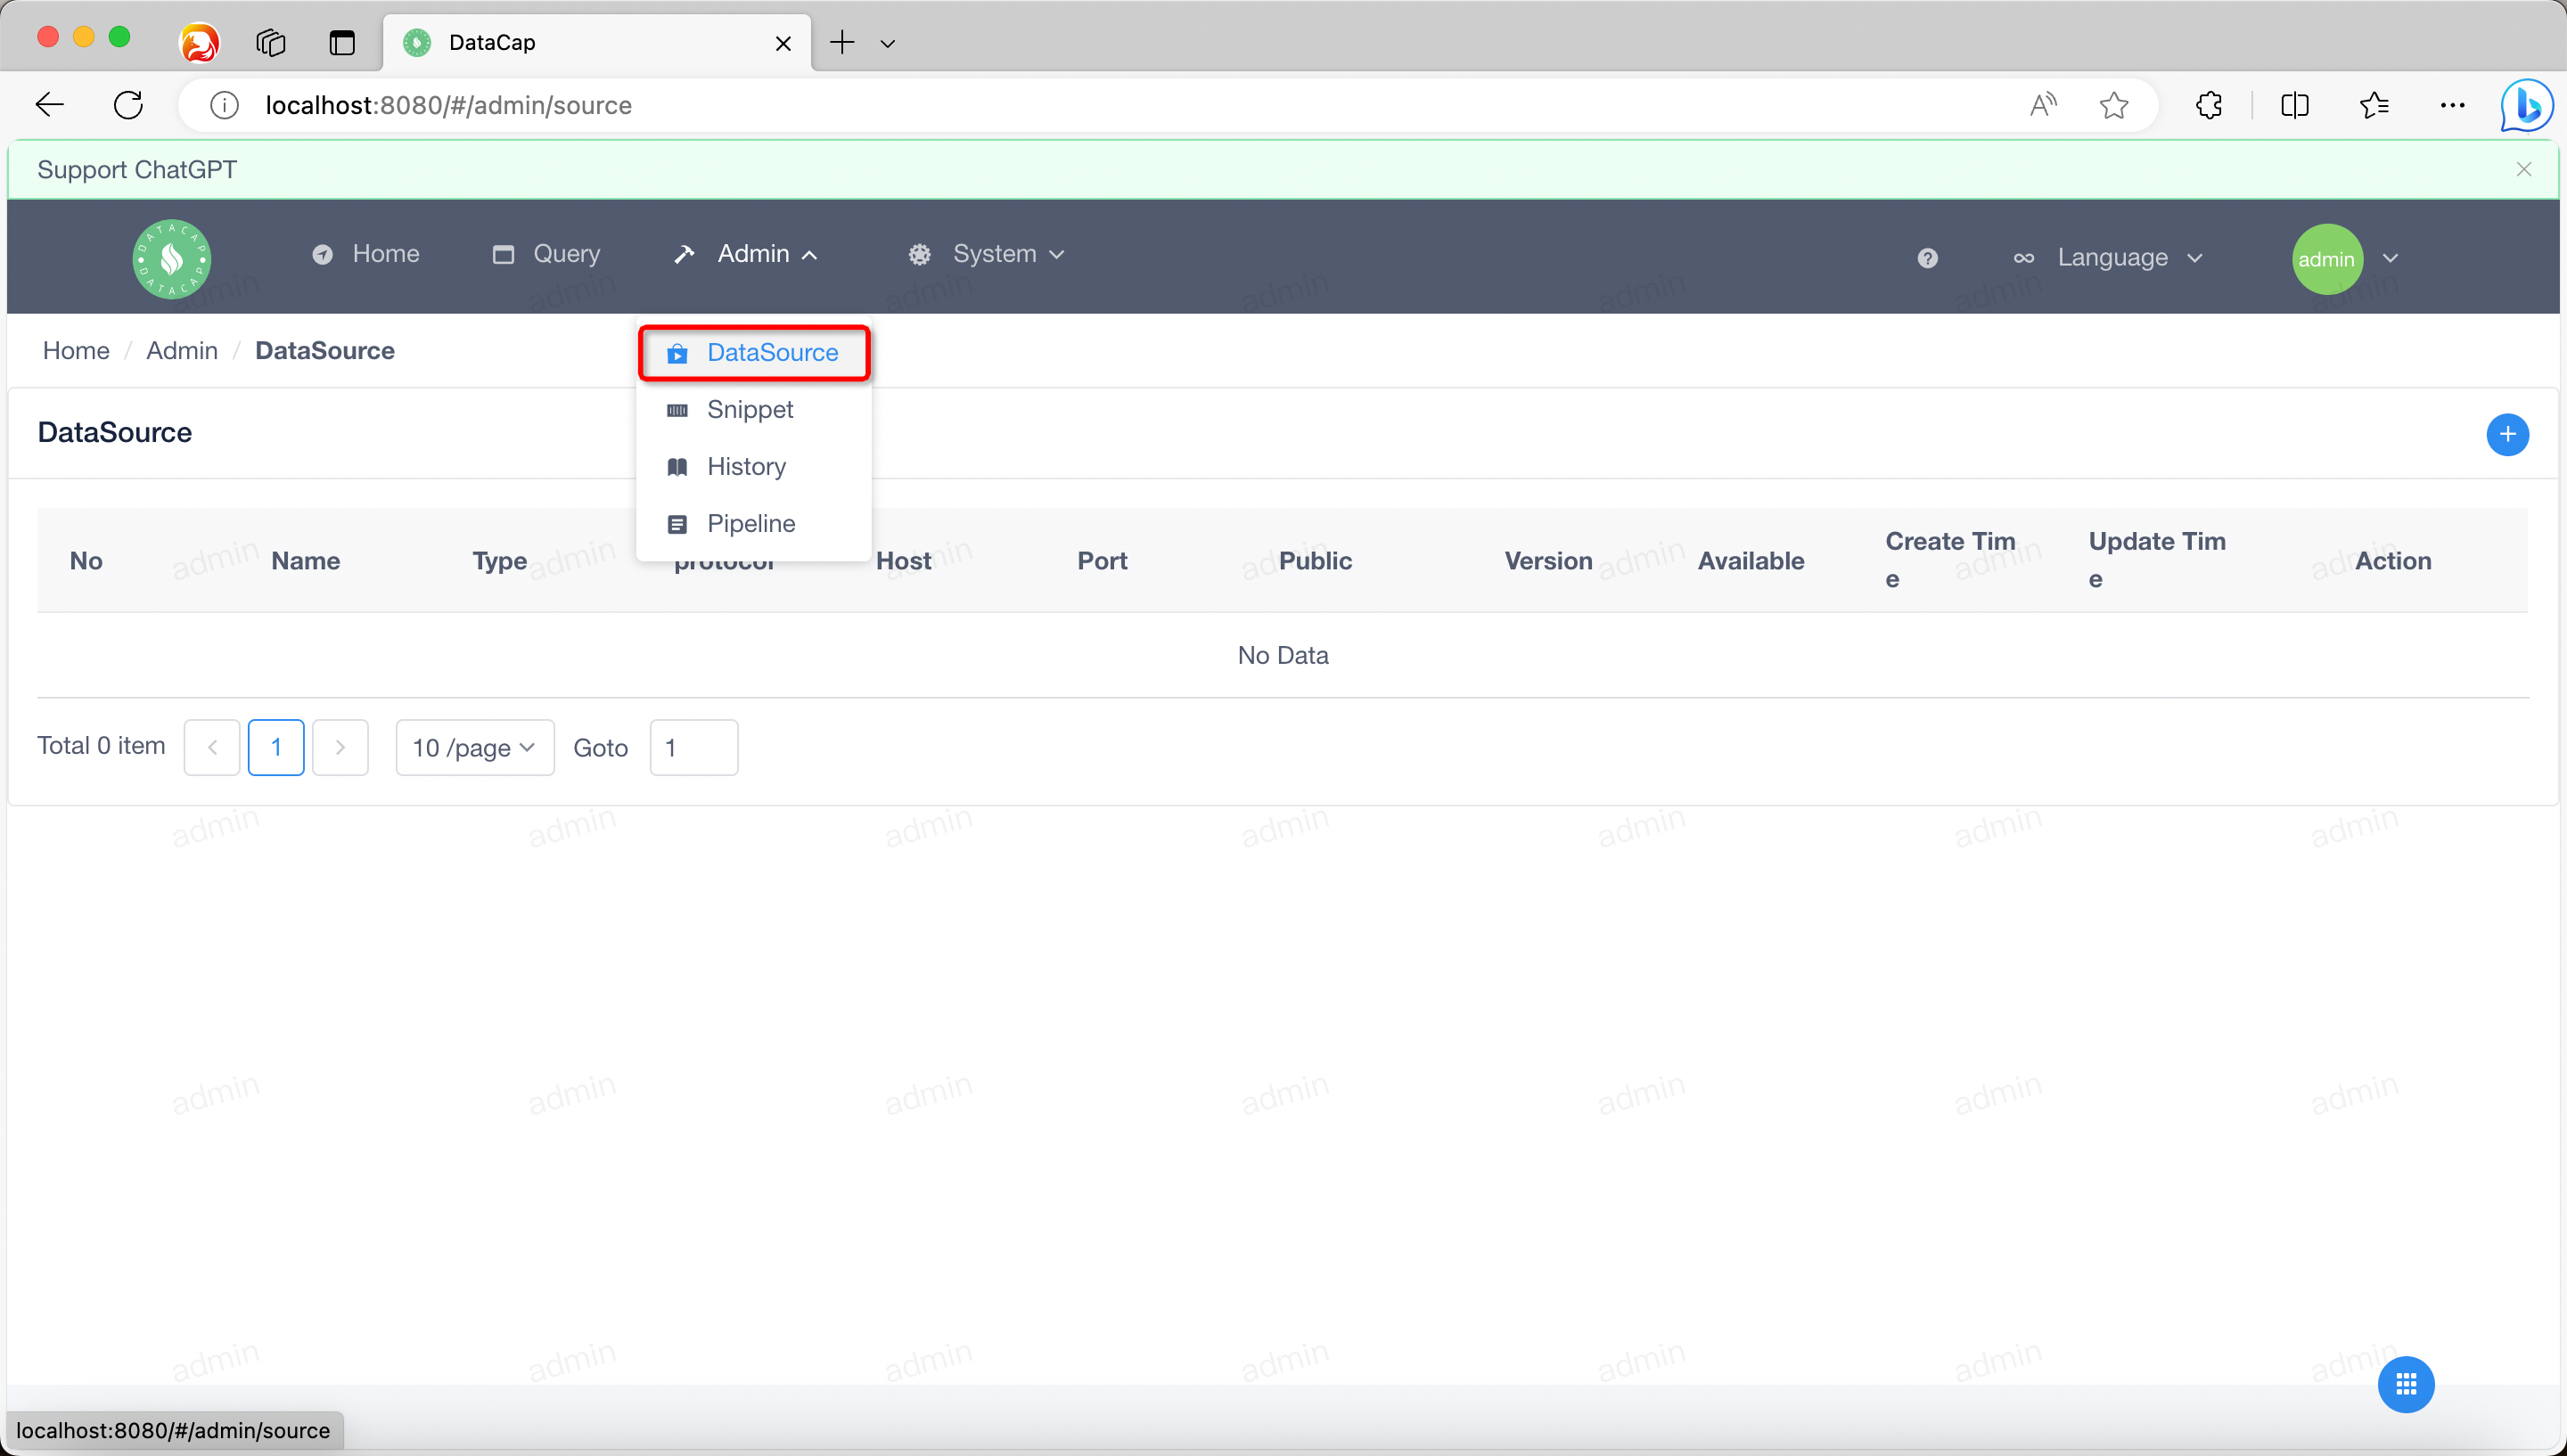
Admin
logo of the top menu, the drop-down box will pop up, click the first submenu in the drop-down box. A window similar to the following pops up, the default list is empty, you need to add it yourself.
Add a data source
Click the Add button on the right side of the list display area (it is a
+
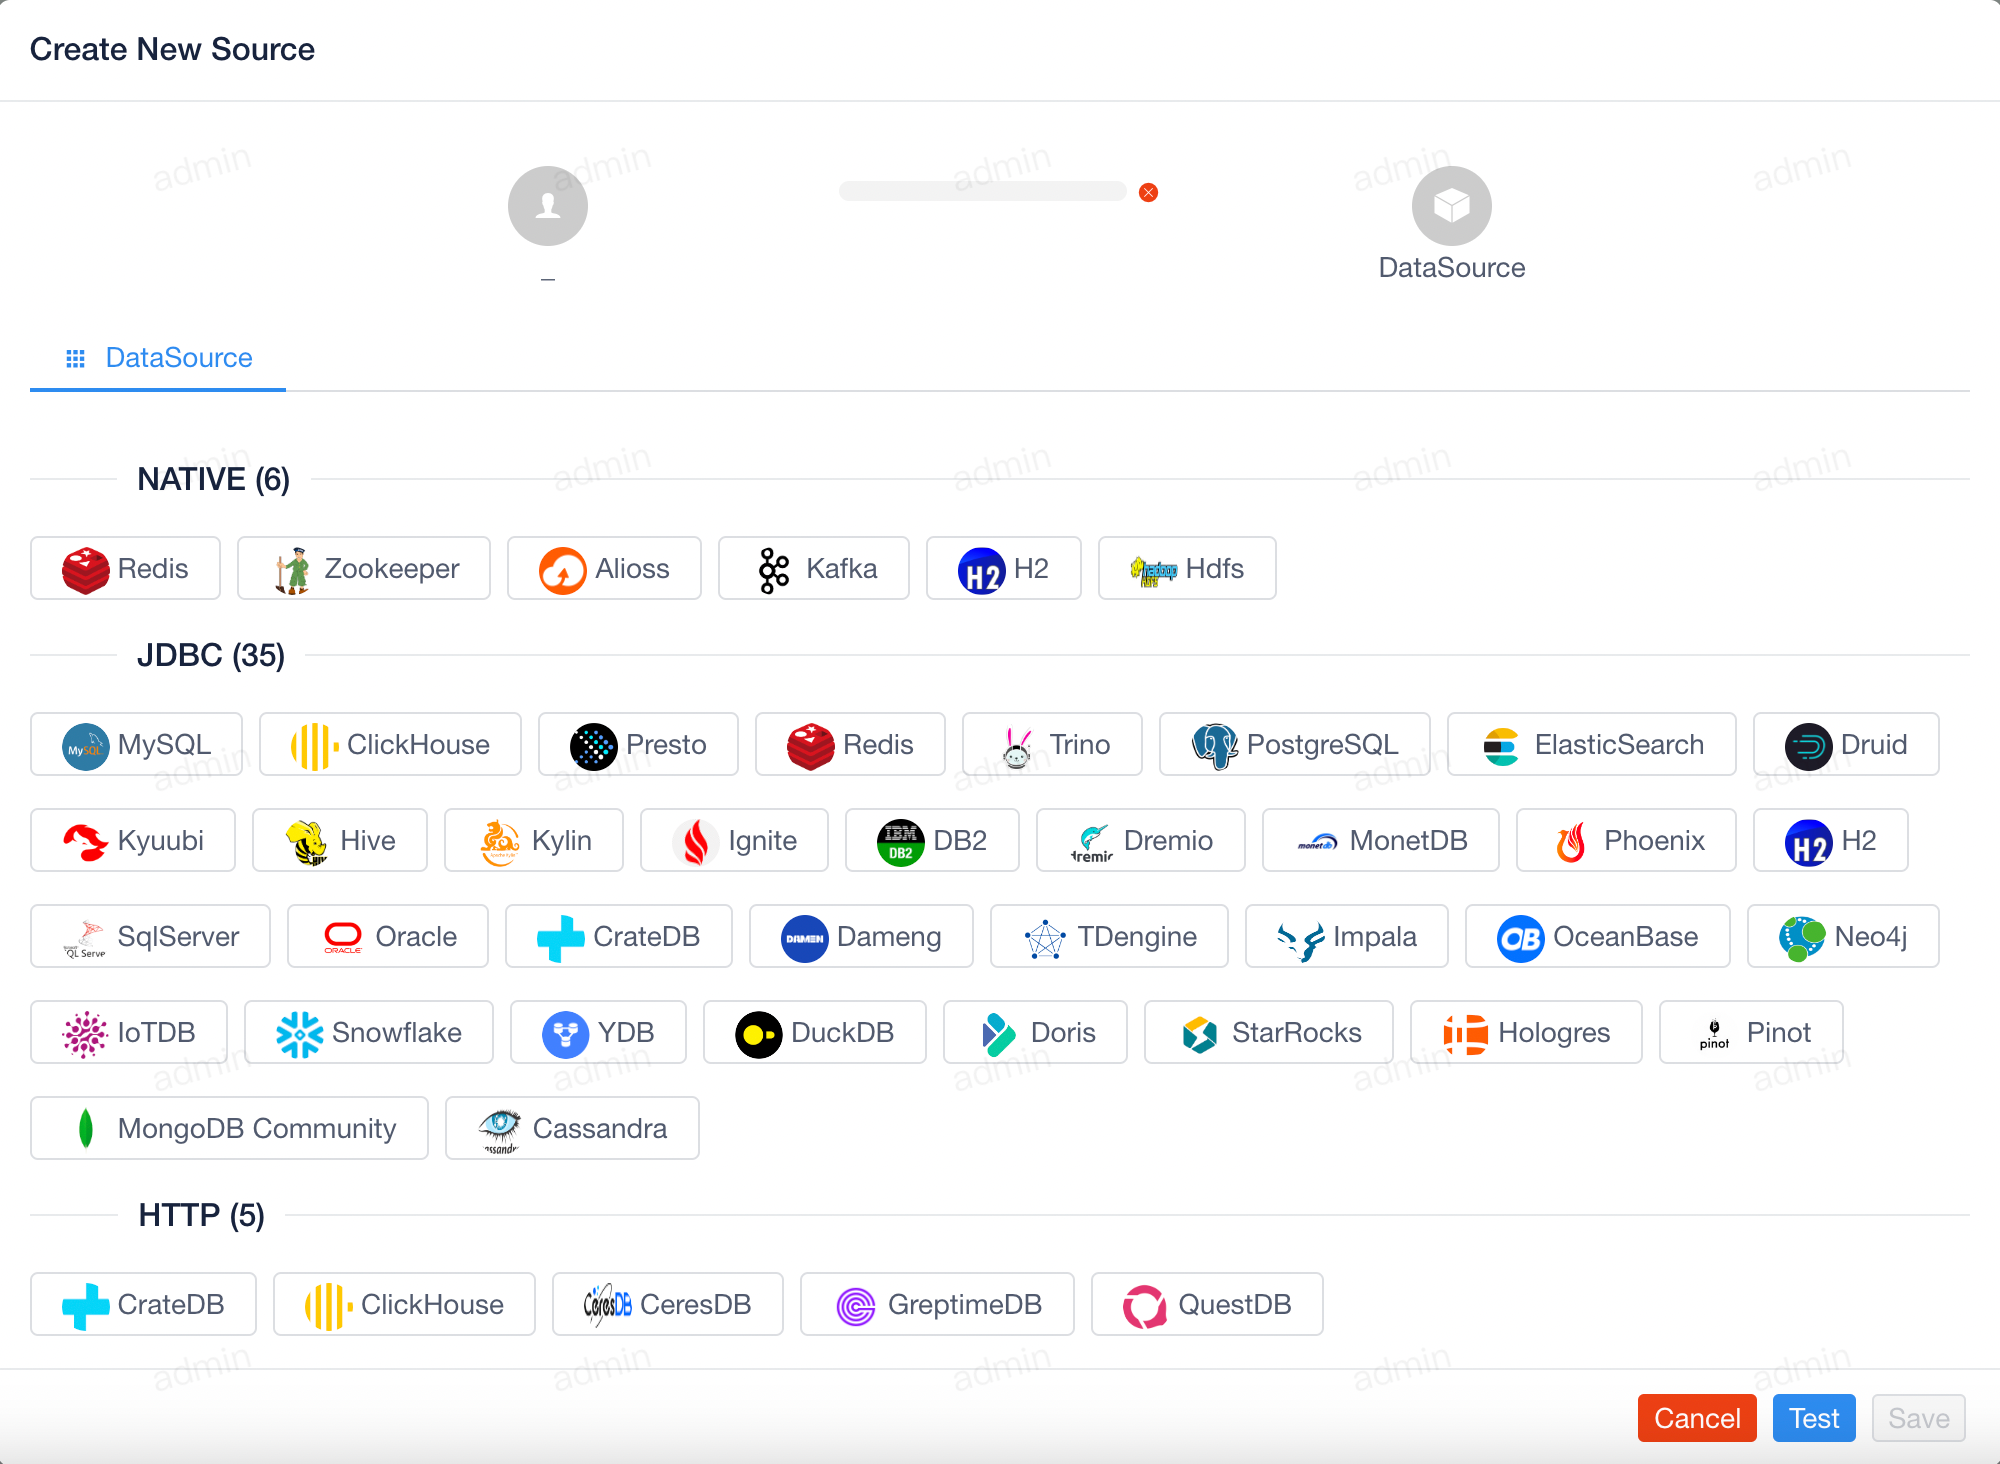
icon), and after clicking it, the Add Data Source window will pop up as follows
MySQL
, a window similar to the following pops up
Test
button at the bottom, the following page will pop up:
Save
button at the bottom.
!!! note
After the data source is saved, the list of data sources is automatically refreshed.
Modify the data source
Click the first button in
Action
in a data source in the list to modify the data source, similar to the
Add Data Source
action
Delete the data source
Click the second button in
Action
for a data source in the list to delete the data source, and the following will pop up after clicking
OK
to delete the selected data source.
!!! danger
It is important to note that when a data source is deleted, the query history associated with the data source is deleted.
Data source management
Click the third or fourth button in the
Action
of the data source in the list to jump to the data source management page.
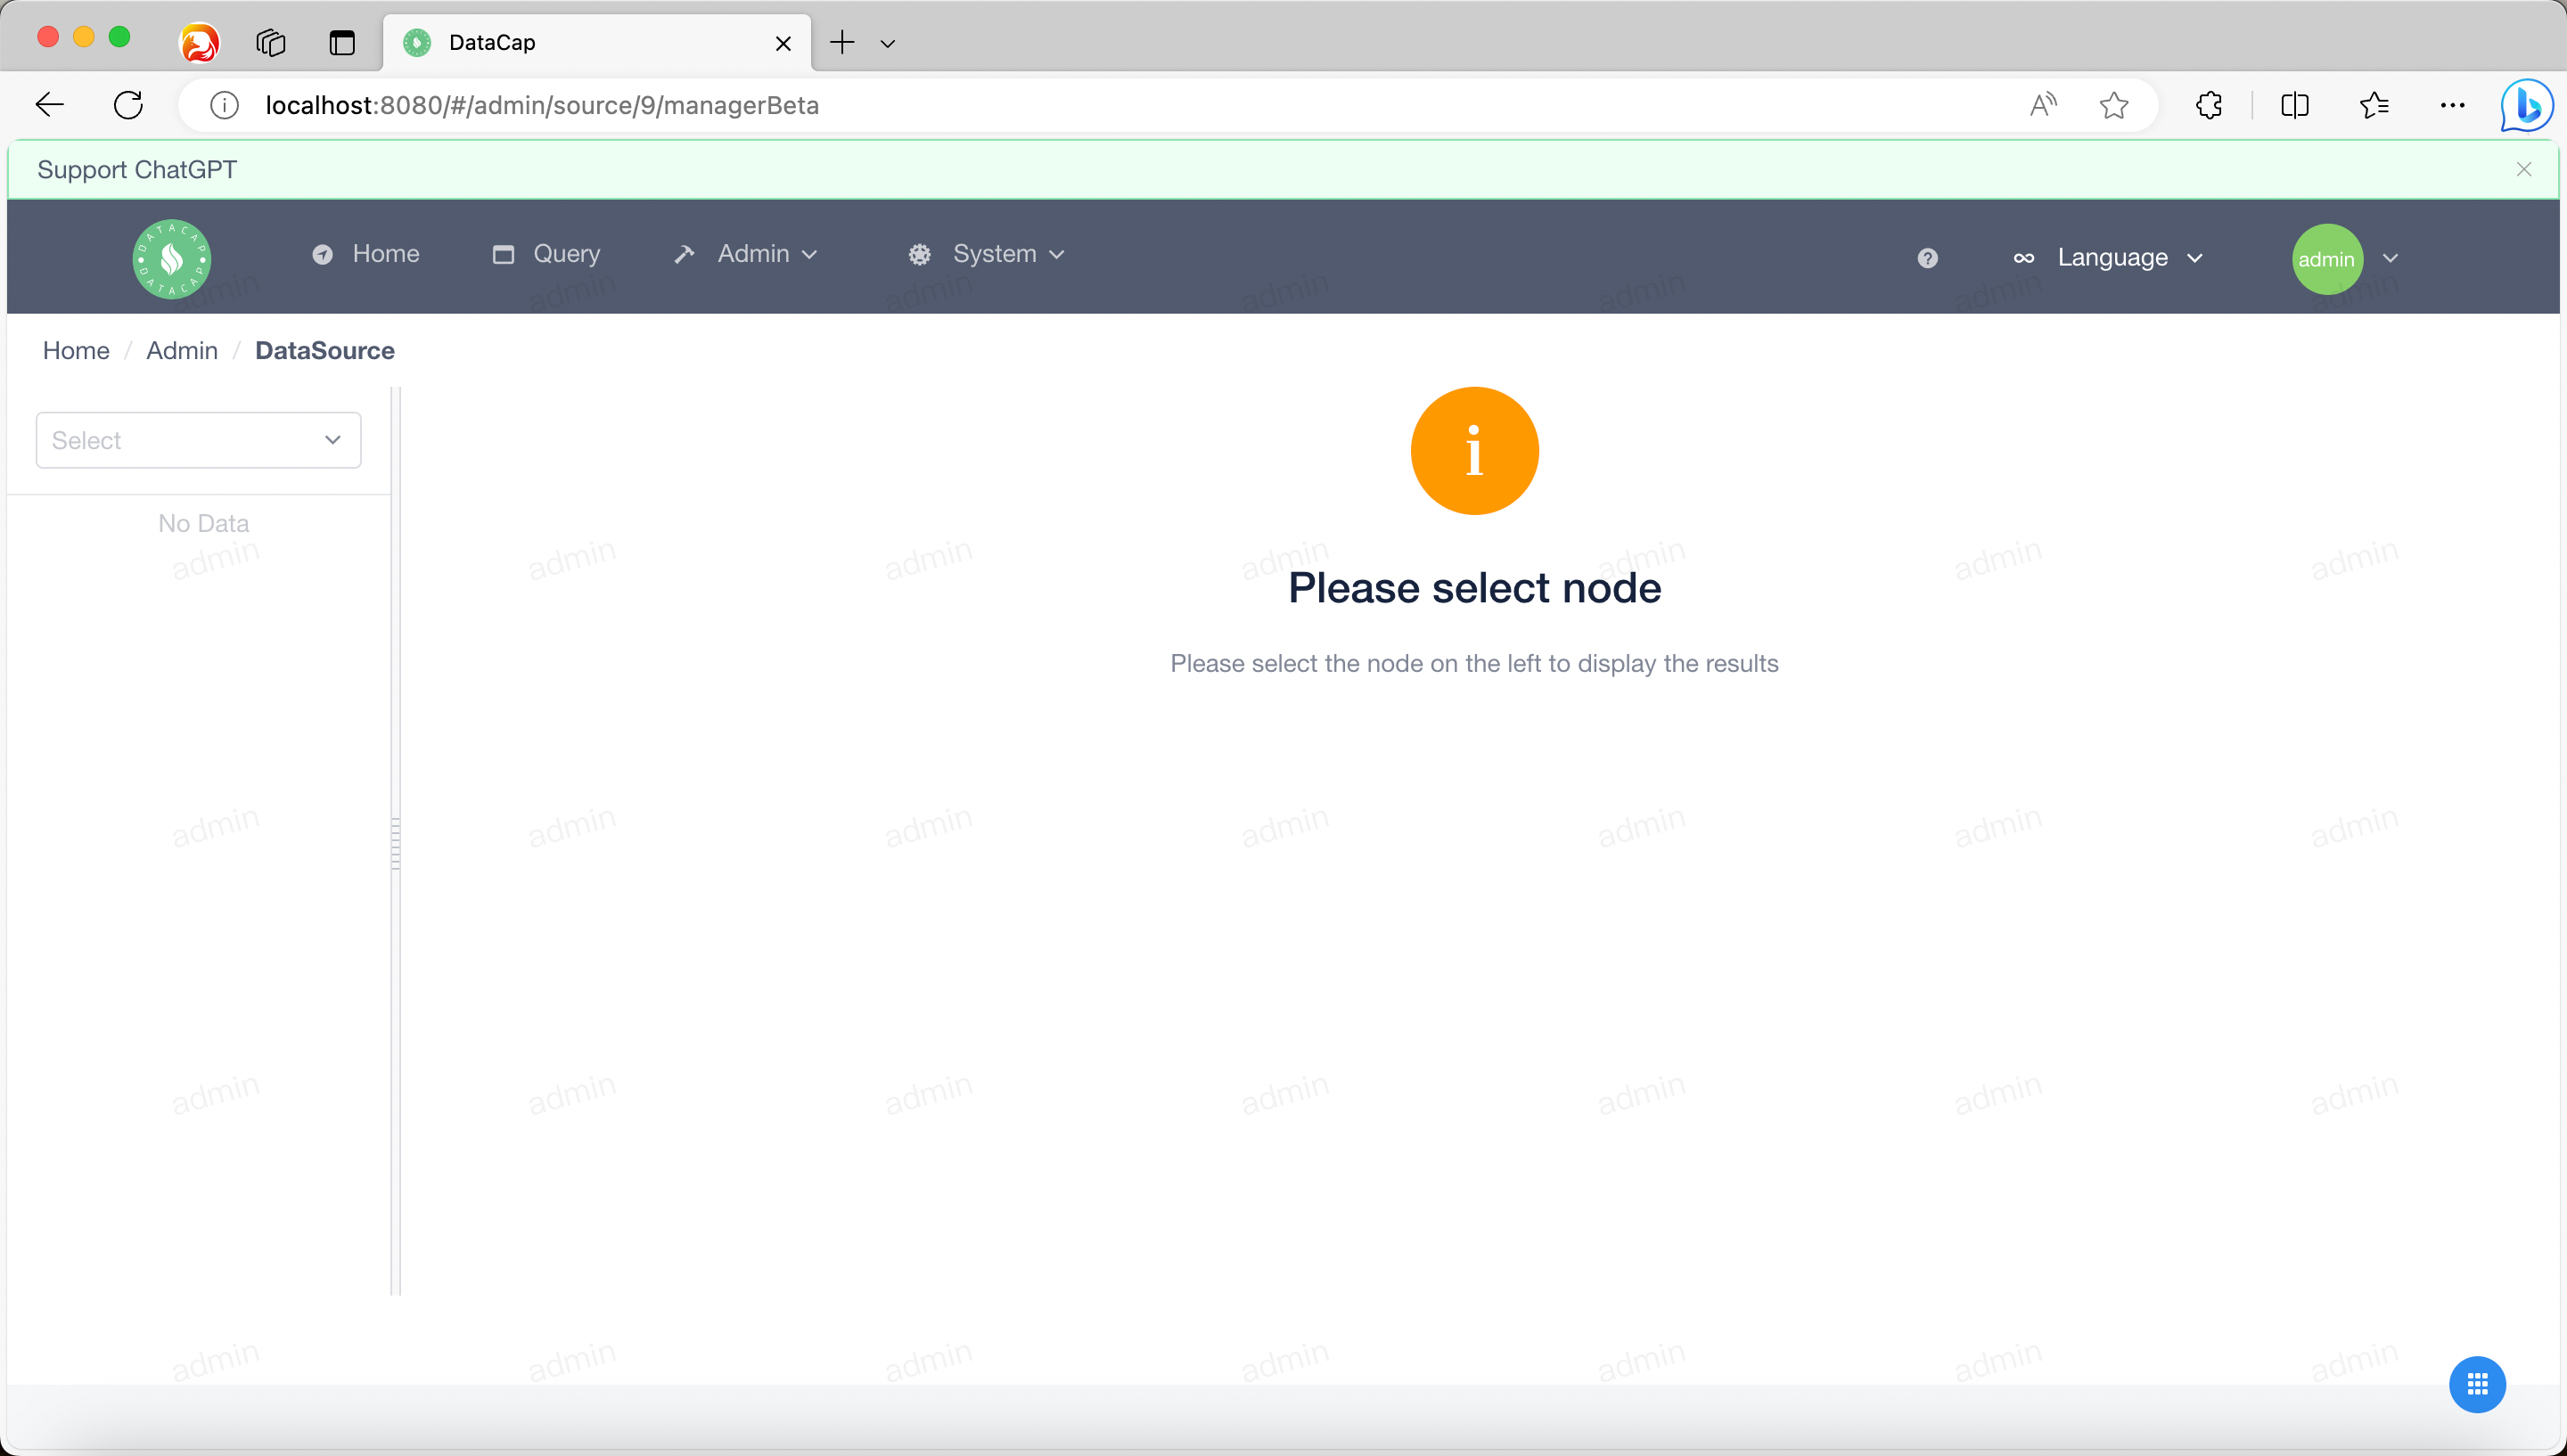
- Select the relevant metadata for the data source
Information module
When we select the database and data table on the left, the content on the right is displayed as follows
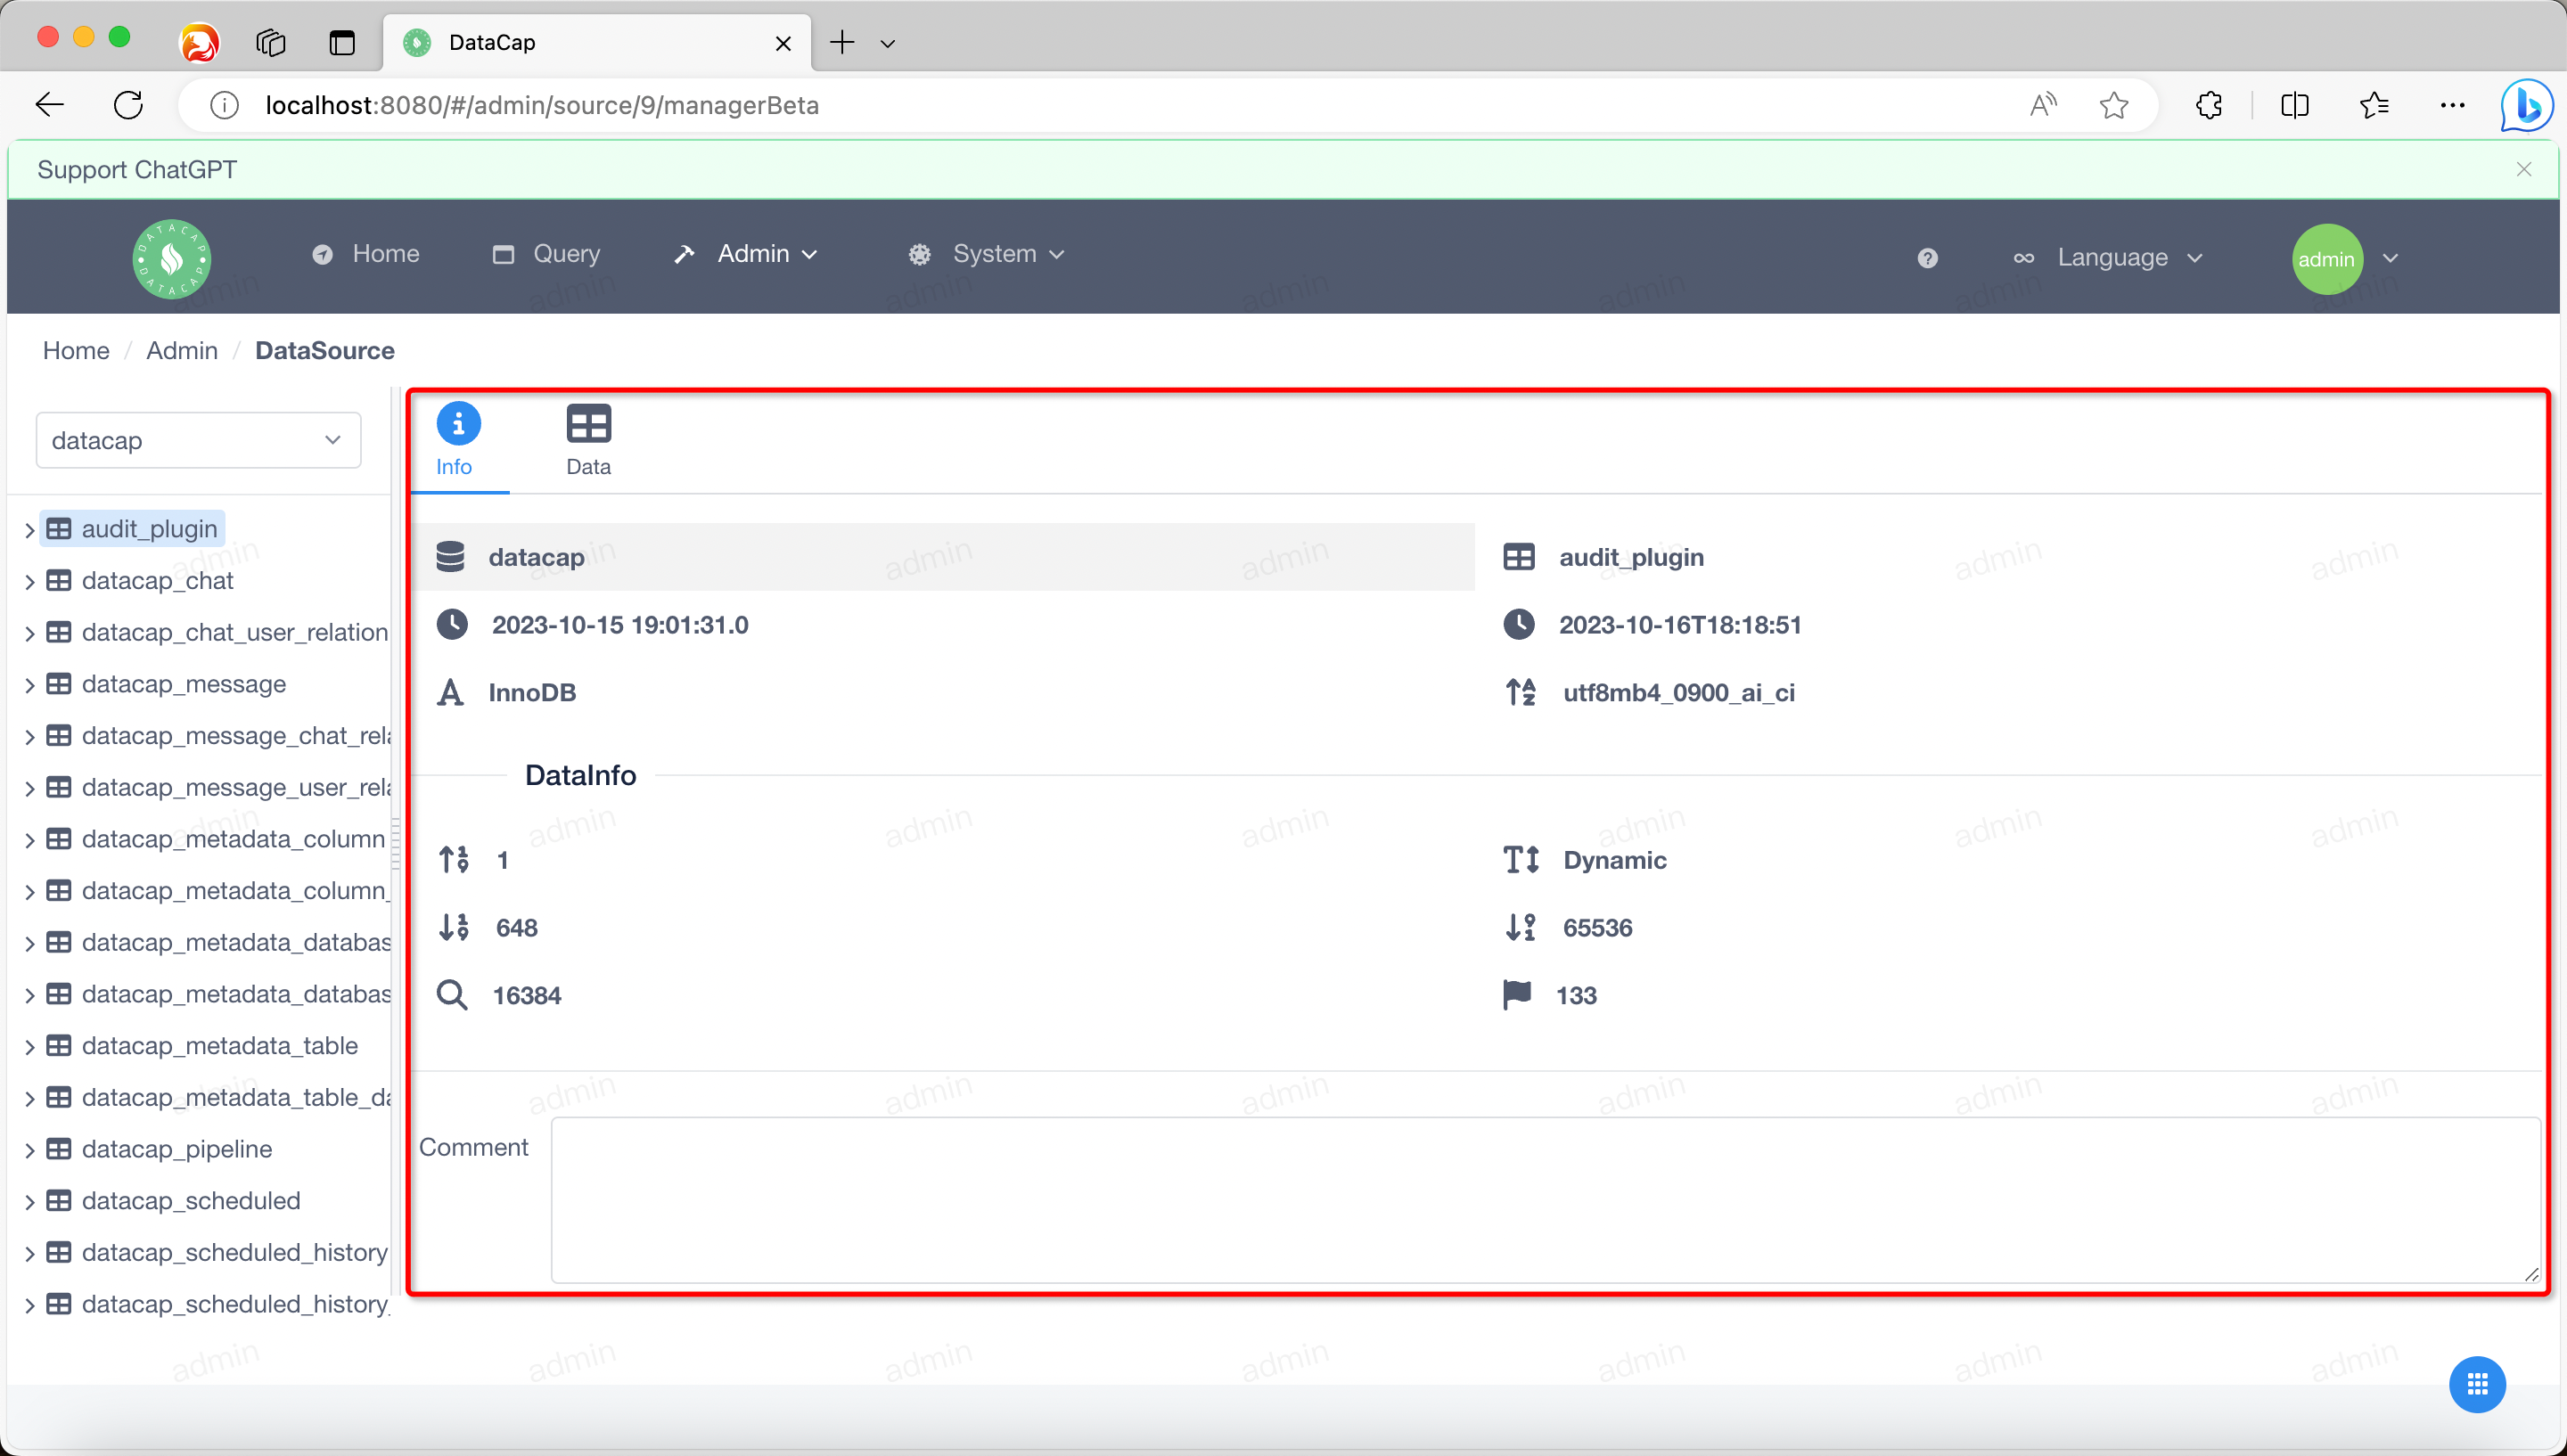
-
Info(Default options) -
Data
By default, information about the current table is displayed under the Current tab.
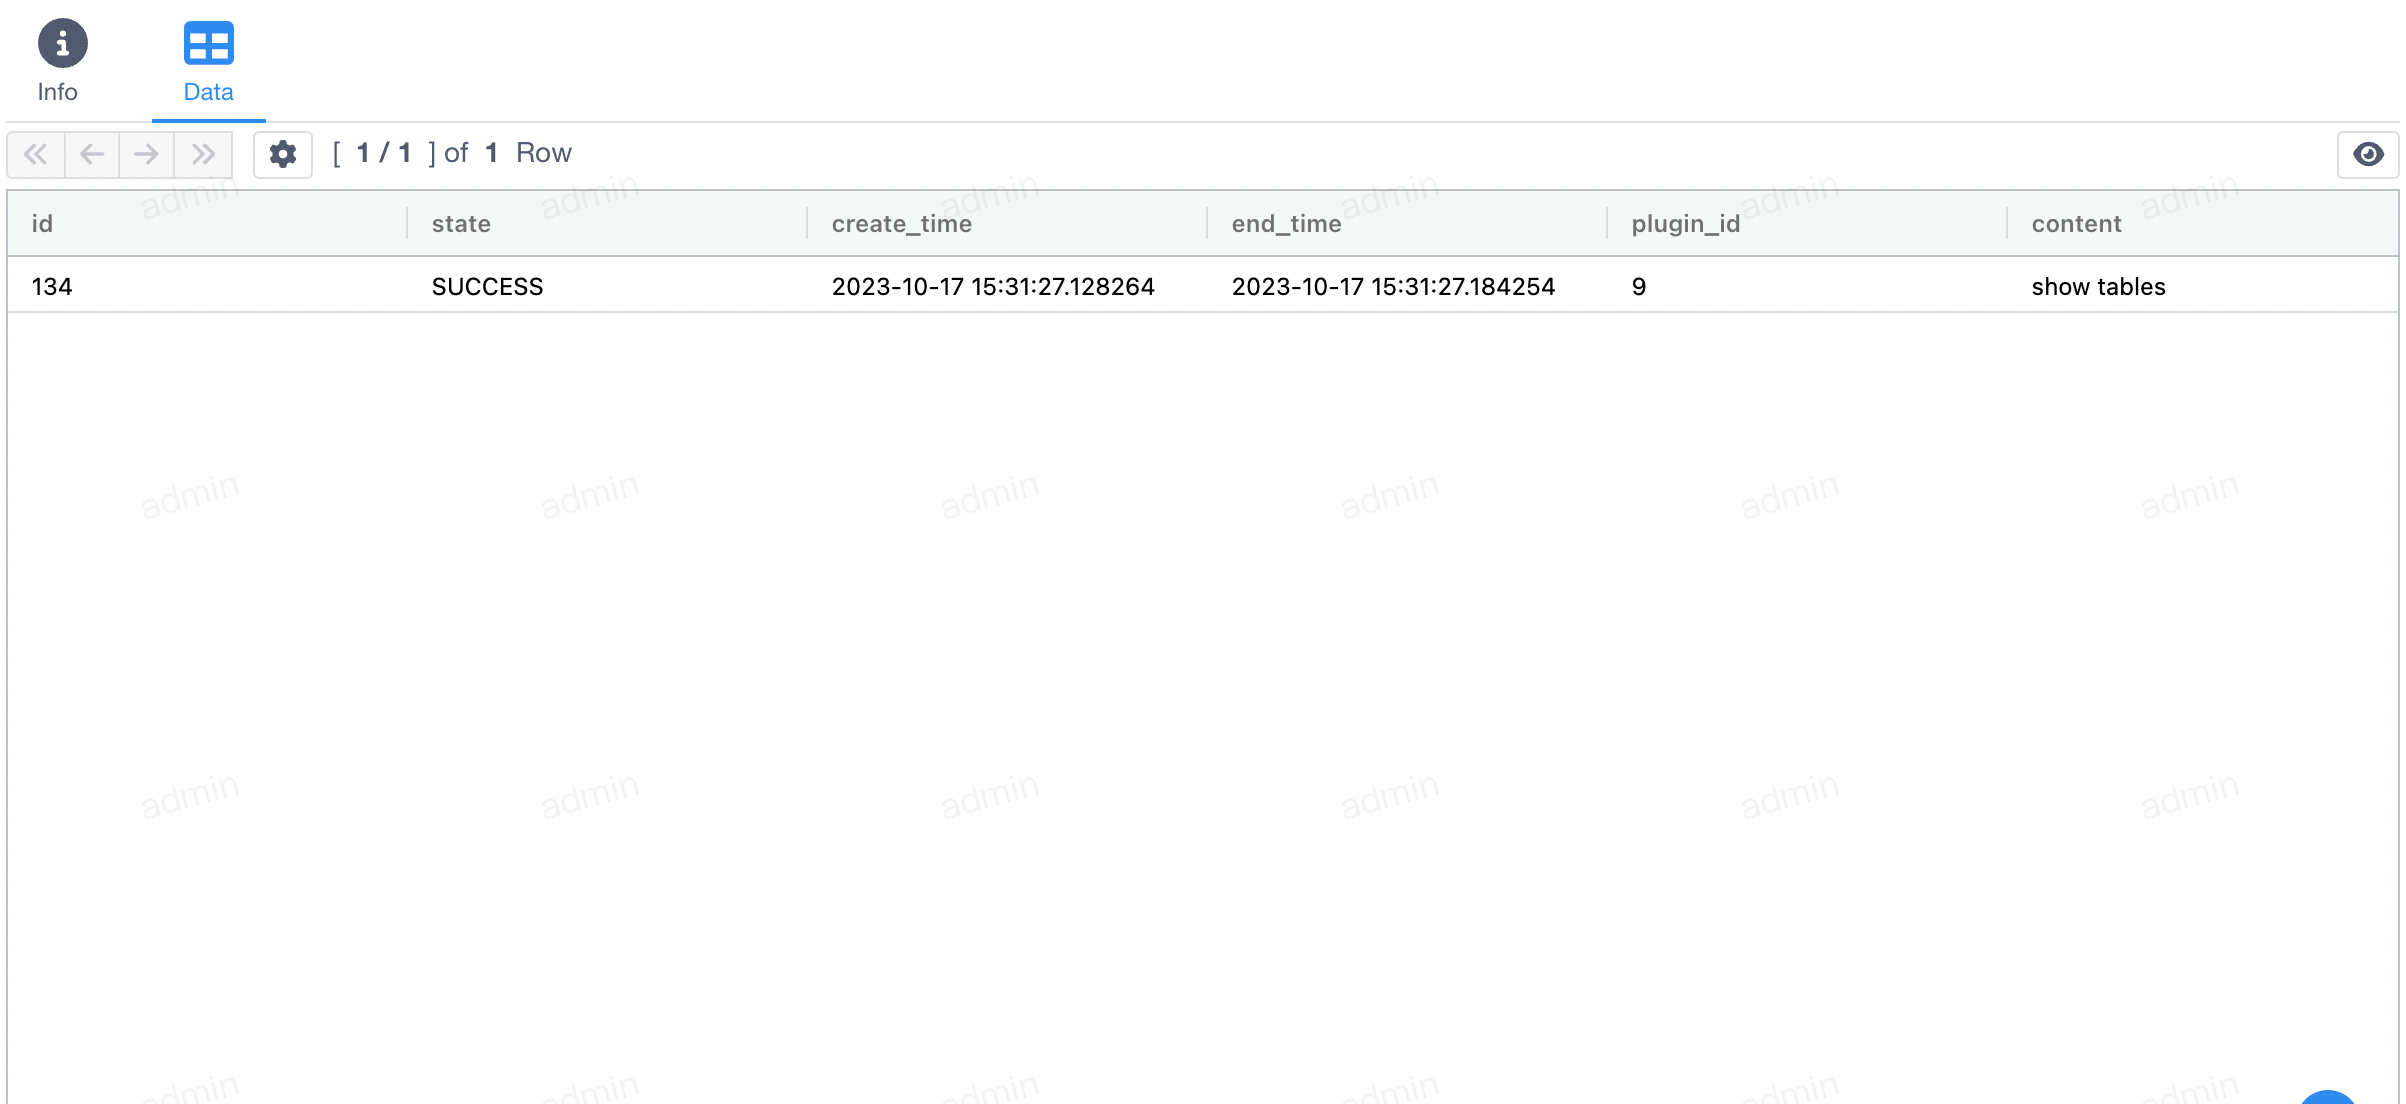
Data modules
Click theData
tab and a page similar to the following will appear, which displays the relevant data of the currently selected table.
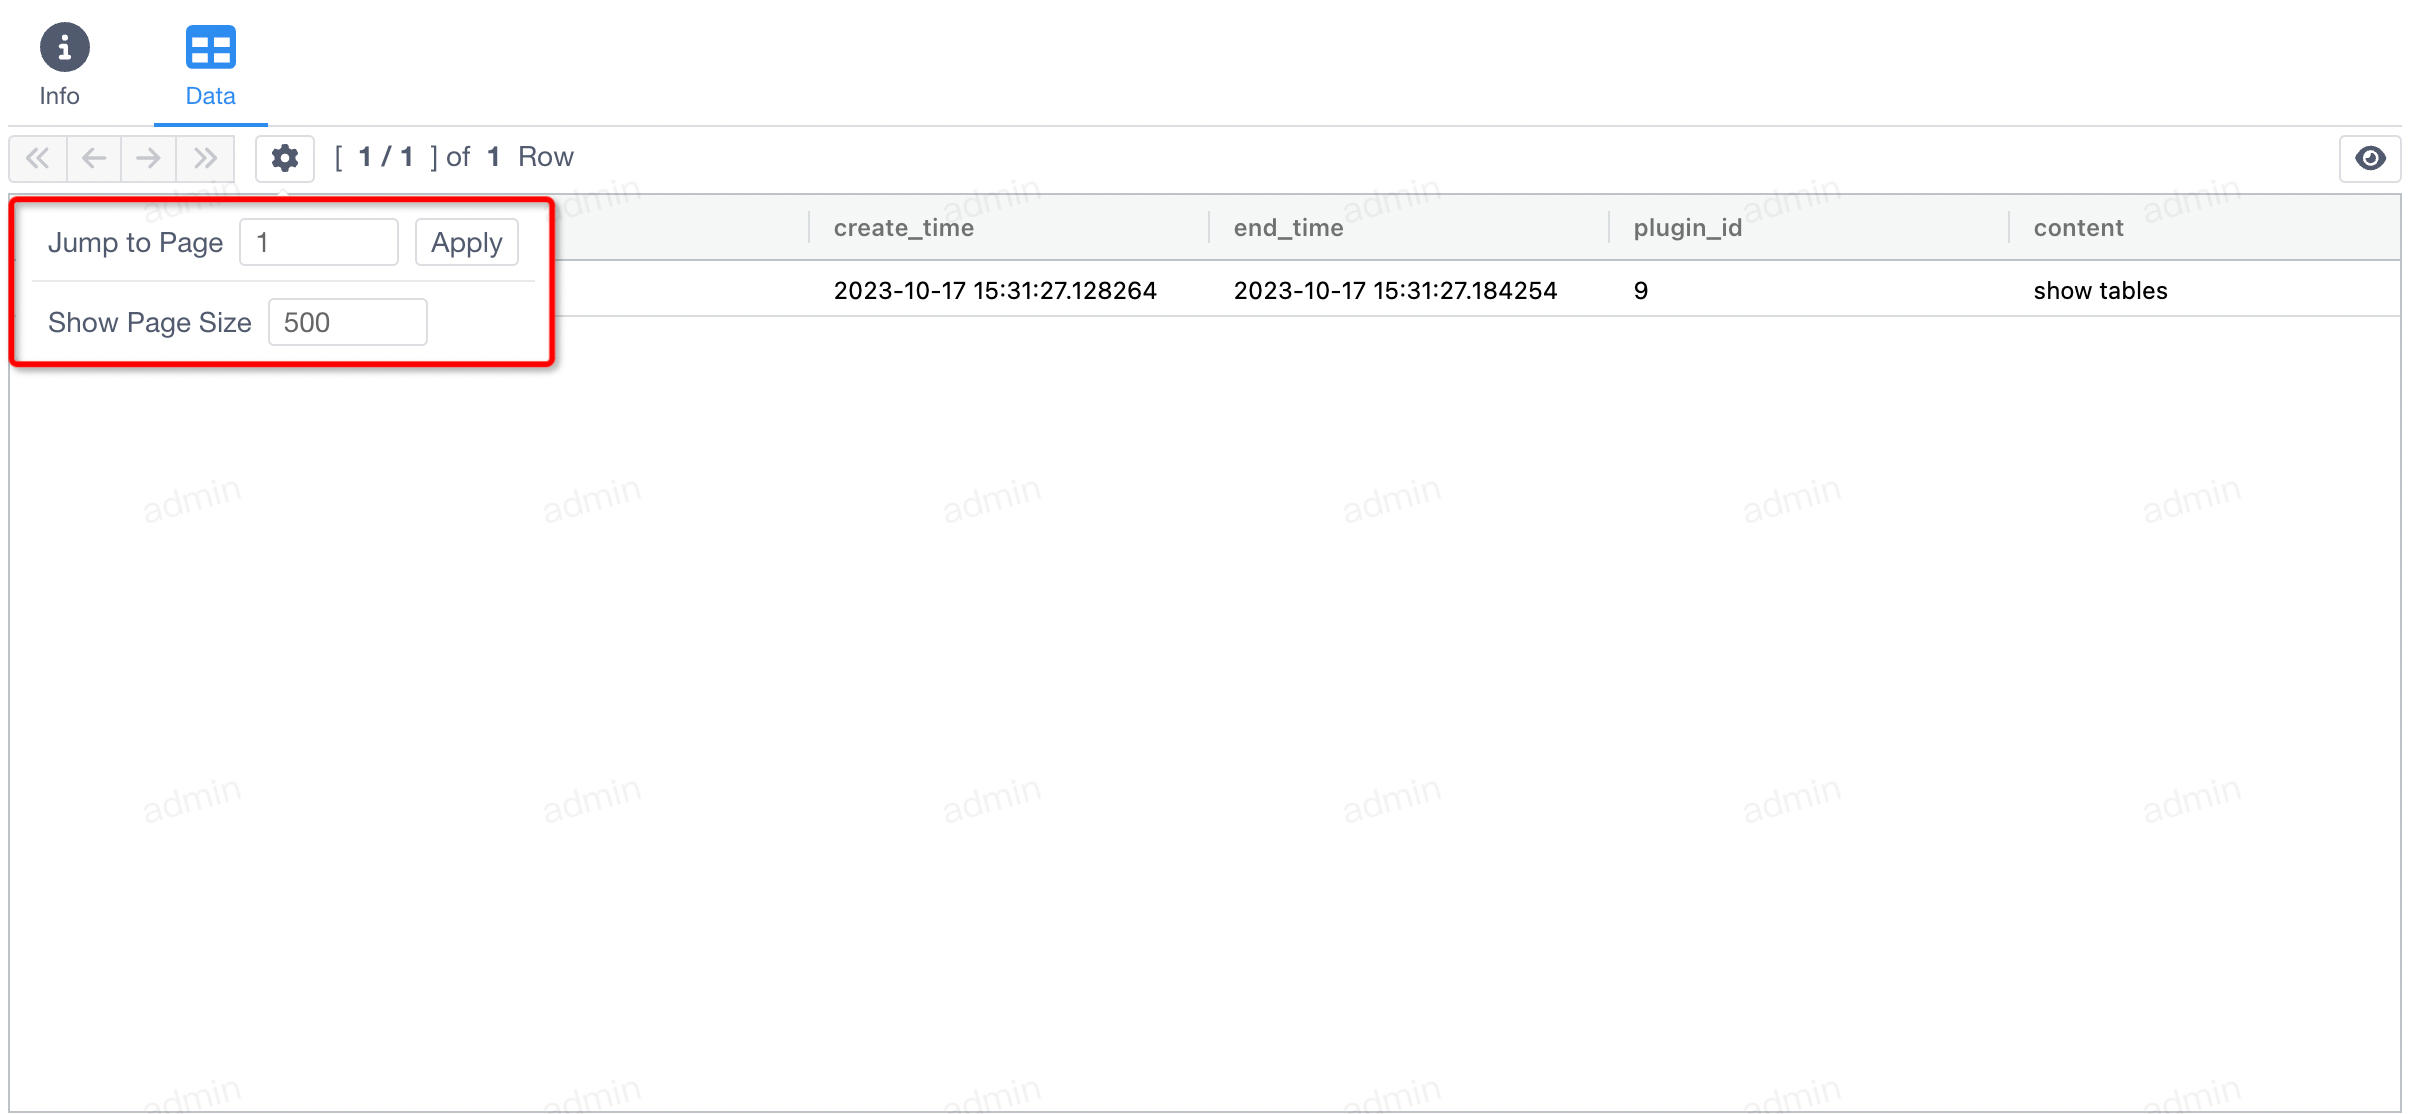
-
First Page -
Previous Page -
Next Page -
Last Page
-
Jump to Page -
Show Page Size
Apply
button to apply the current configuration information.
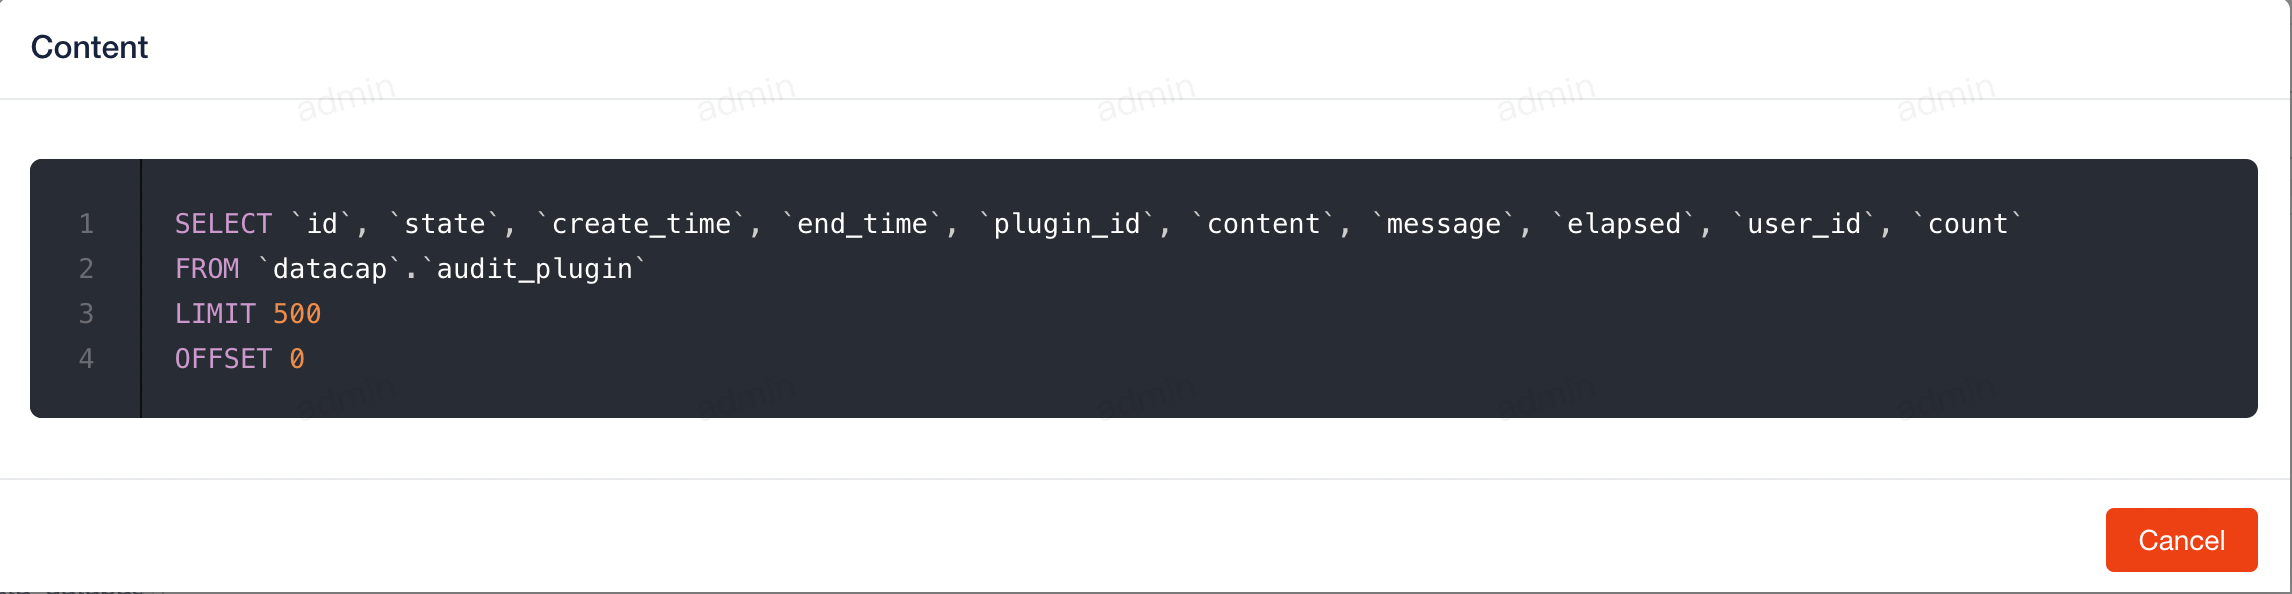
There is also a button on the right, which will display the detailed
SQL
content used by the current query
The current SQL generation is based on the order in which it is synchronized to the metadata.
At present, not all data sources support management, you can add your own templates if needed. If you are interested, you can contribute the source code to us.
贡献者
